

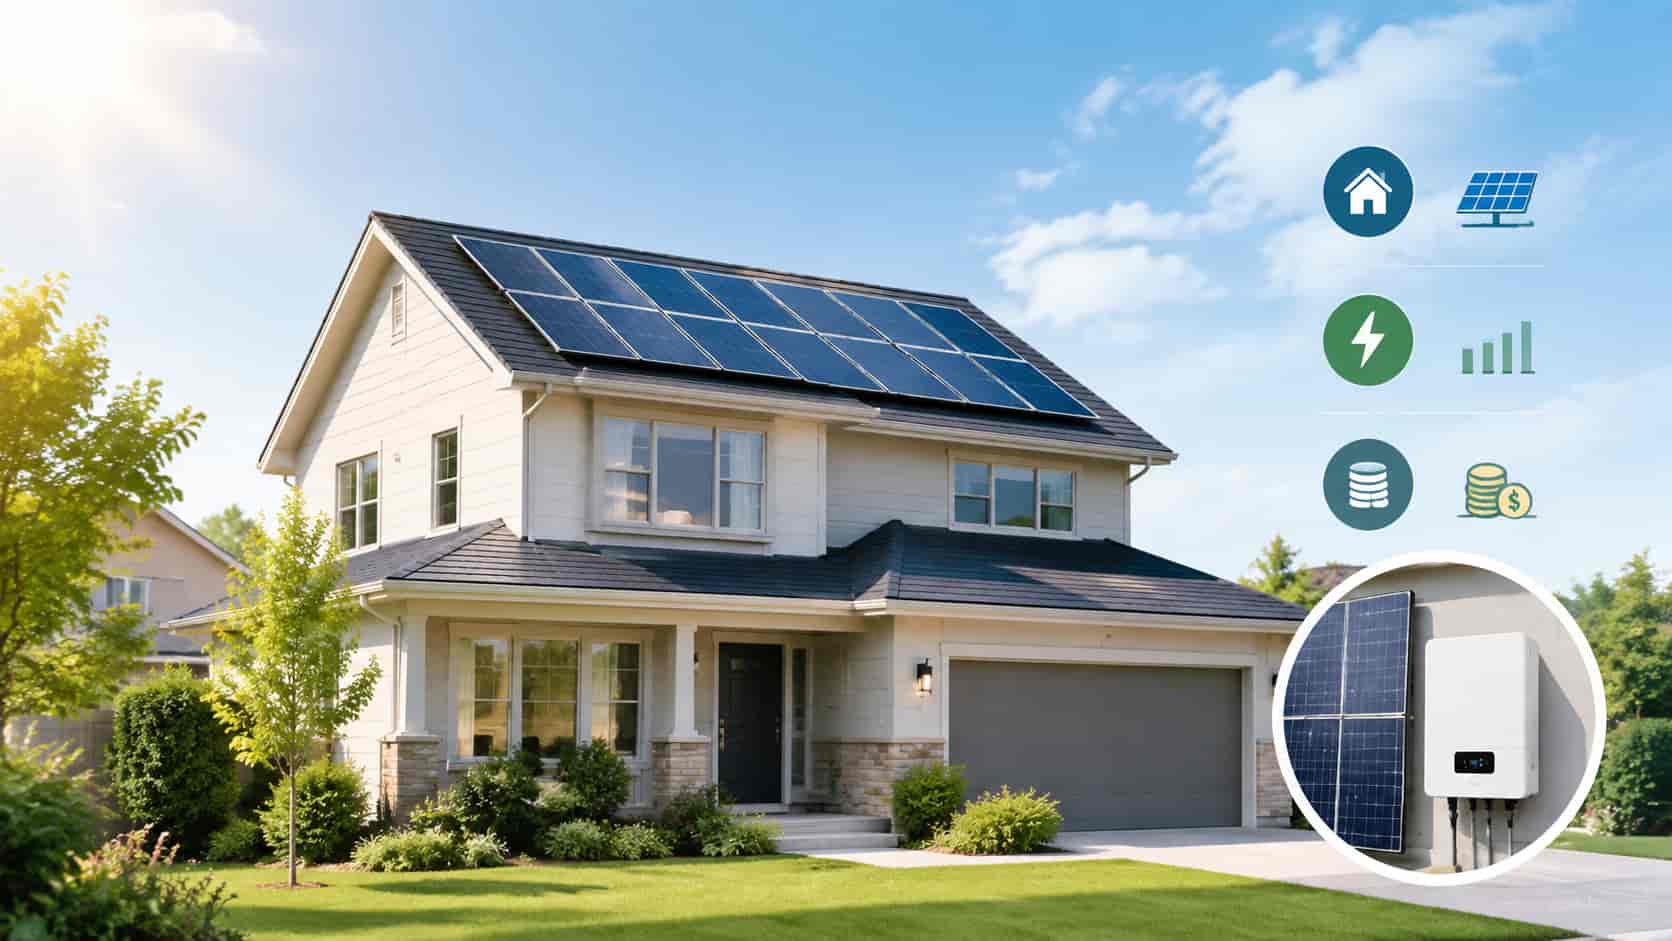
How to Install a Home Inverter?
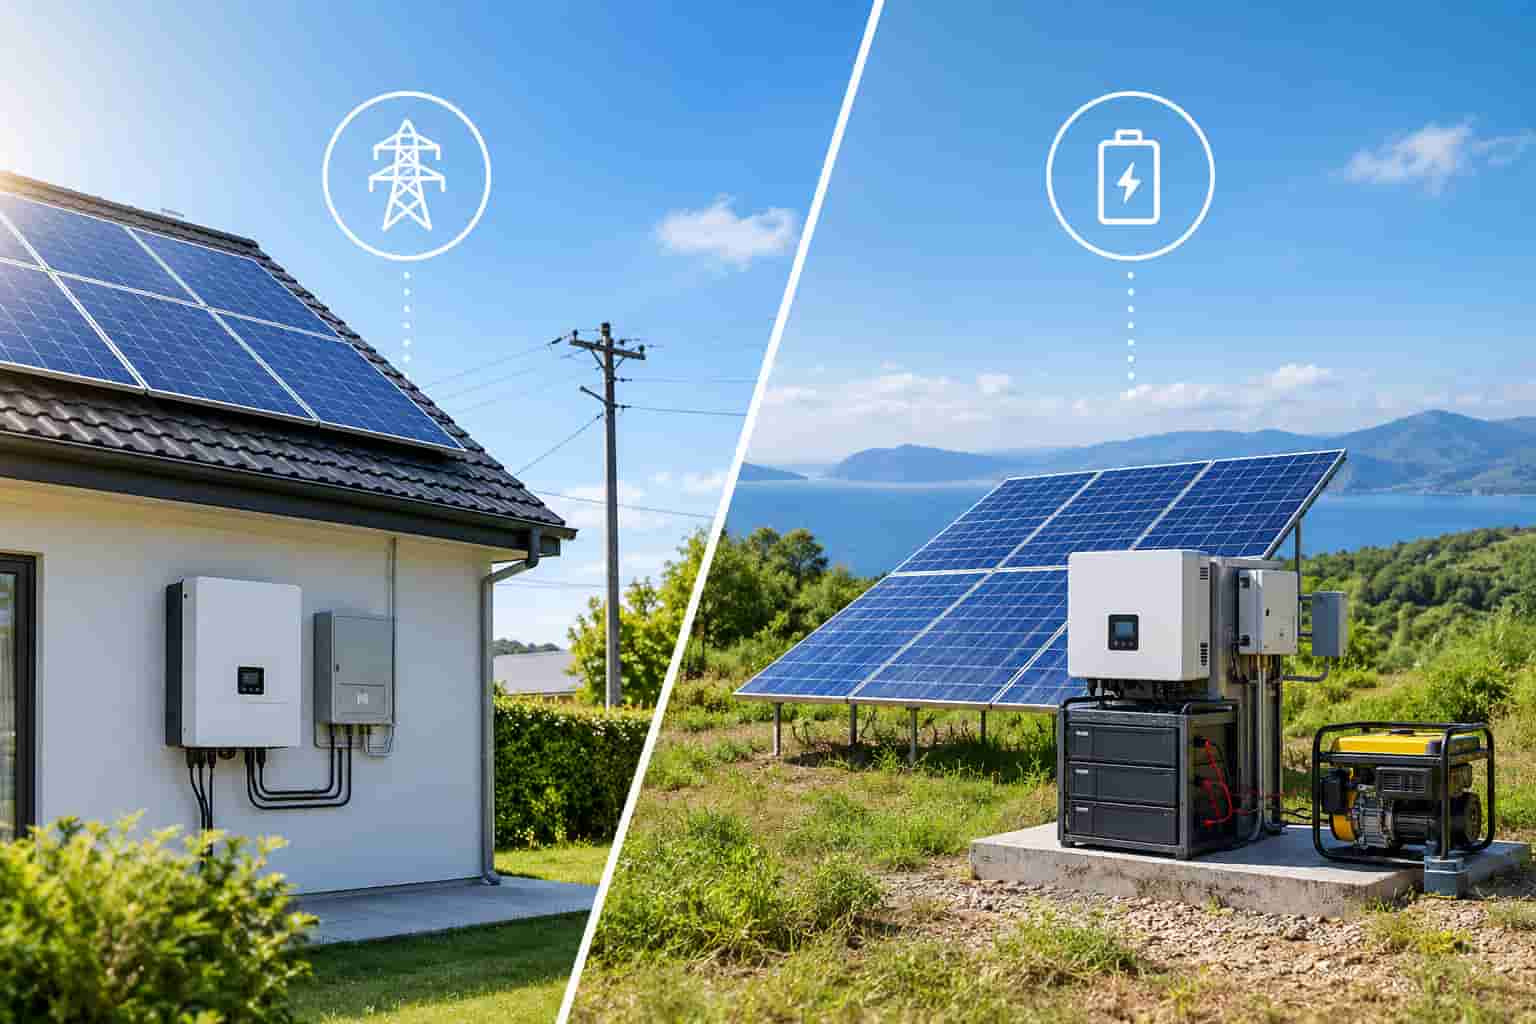
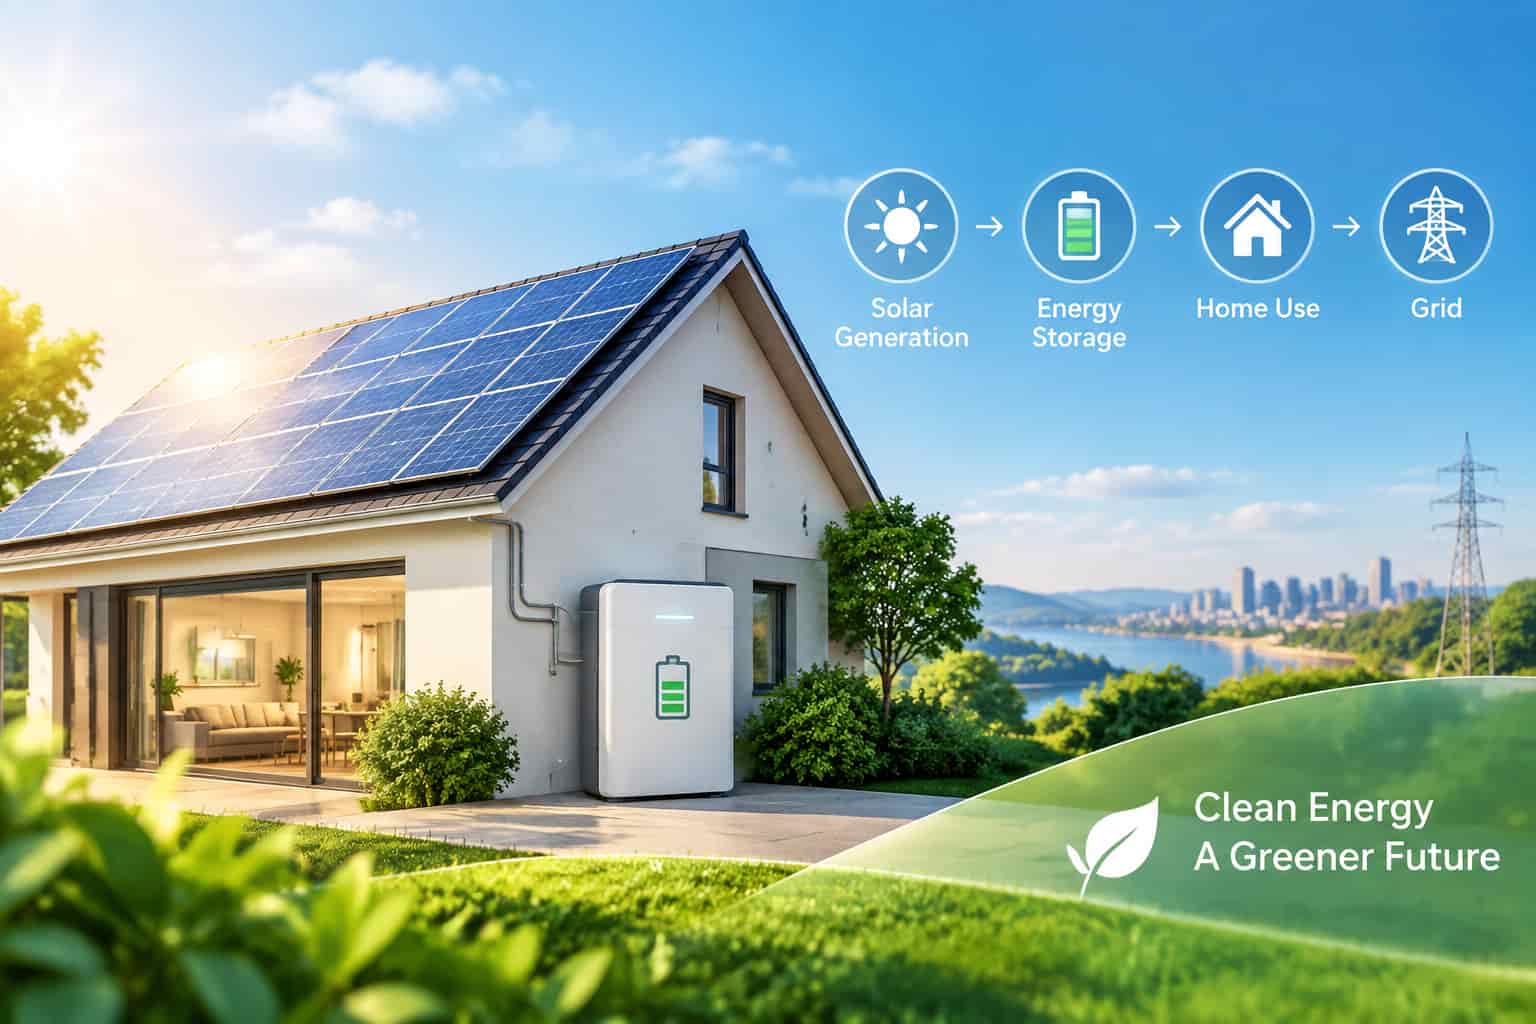
Home power inverters are an essential part of modern energy systems, converting DC electricity generated by solar panels into AC power for household use. Correct installation of a home power inverter is vital to ensure system safety, performance, and long-term reliability. This guide provides a detailed overview of the installation process, including site evaluation, wiring, safety considerations, and system testing.
MVC offers high-quality inverters from globally recognized brands, including Deye, Solis, and HuaWei, ensuring reliable performance and professional after-sales support. With MVC, you can build a safe, efficient, and dependable solar power system for your home with confidence.
Preparations Before Installing a Home Inverter
1. Assessing Your Energy Requirements
Before installing a home power inverter, it is important to assess your household energy requirements. Begin by calculating the average power consumption of your home appliances. For households that mainly operate basic devices such as refrigerators, computers, and televisions, a small inverter with a capacity of 3-5kW is generally sufficient. Selecting the appropriate solar inverter size for your home ensures that your daily electricity needs can be met while preventing system overload.
If you're unsure how to choose the right inverter for your home, this article may be helpful. How to Choose the Right Solar Inverter?
2. Selecting the Proper Installation Location
Choosing the right installation location for your home power inverter is essential for maintaining efficient operation and extending its service life. Key factors to consider include accessibility, ventilation, and the distance from solar panels and the main electrical system. The inverter can be installed indoors or outdoors, but it should be placed in an area away from direct sunlight, extreme temperatures, and moisture. The installation site should also provide convenient access for future maintenance and system monitoring.
3. Preparing Required Tools and Equipment
To ensure a smooth and efficient installation process, prepare all necessary tools and equipment in advance. The following tools are commonly required:
- Screwdriver: Used to secure screws on the inverter and related components.
- Electric drill and hammer: Used for drilling holes to install the inverter and mounting brackets.
- Cable stripper: Removes the cable insulation layer to expose the wires for connection.
- Cable twister: Cuts and twists cable ends to ensure reliable and stable connections.
- Multimeter: Measures voltage and current to verify proper electrical connections.
- Insulation tape: Covers exposed wires to help prevent leakage and short circuits.
- Special wrenches and sockets: Used for tightening connectors of different sizes.
- Crimping clamp: Ensures photovoltaic cables and connectors are securely crimped.
In addition, prepare the following installation equipment:
- Mounting rack: Provides a secure structure for installing the inverter.
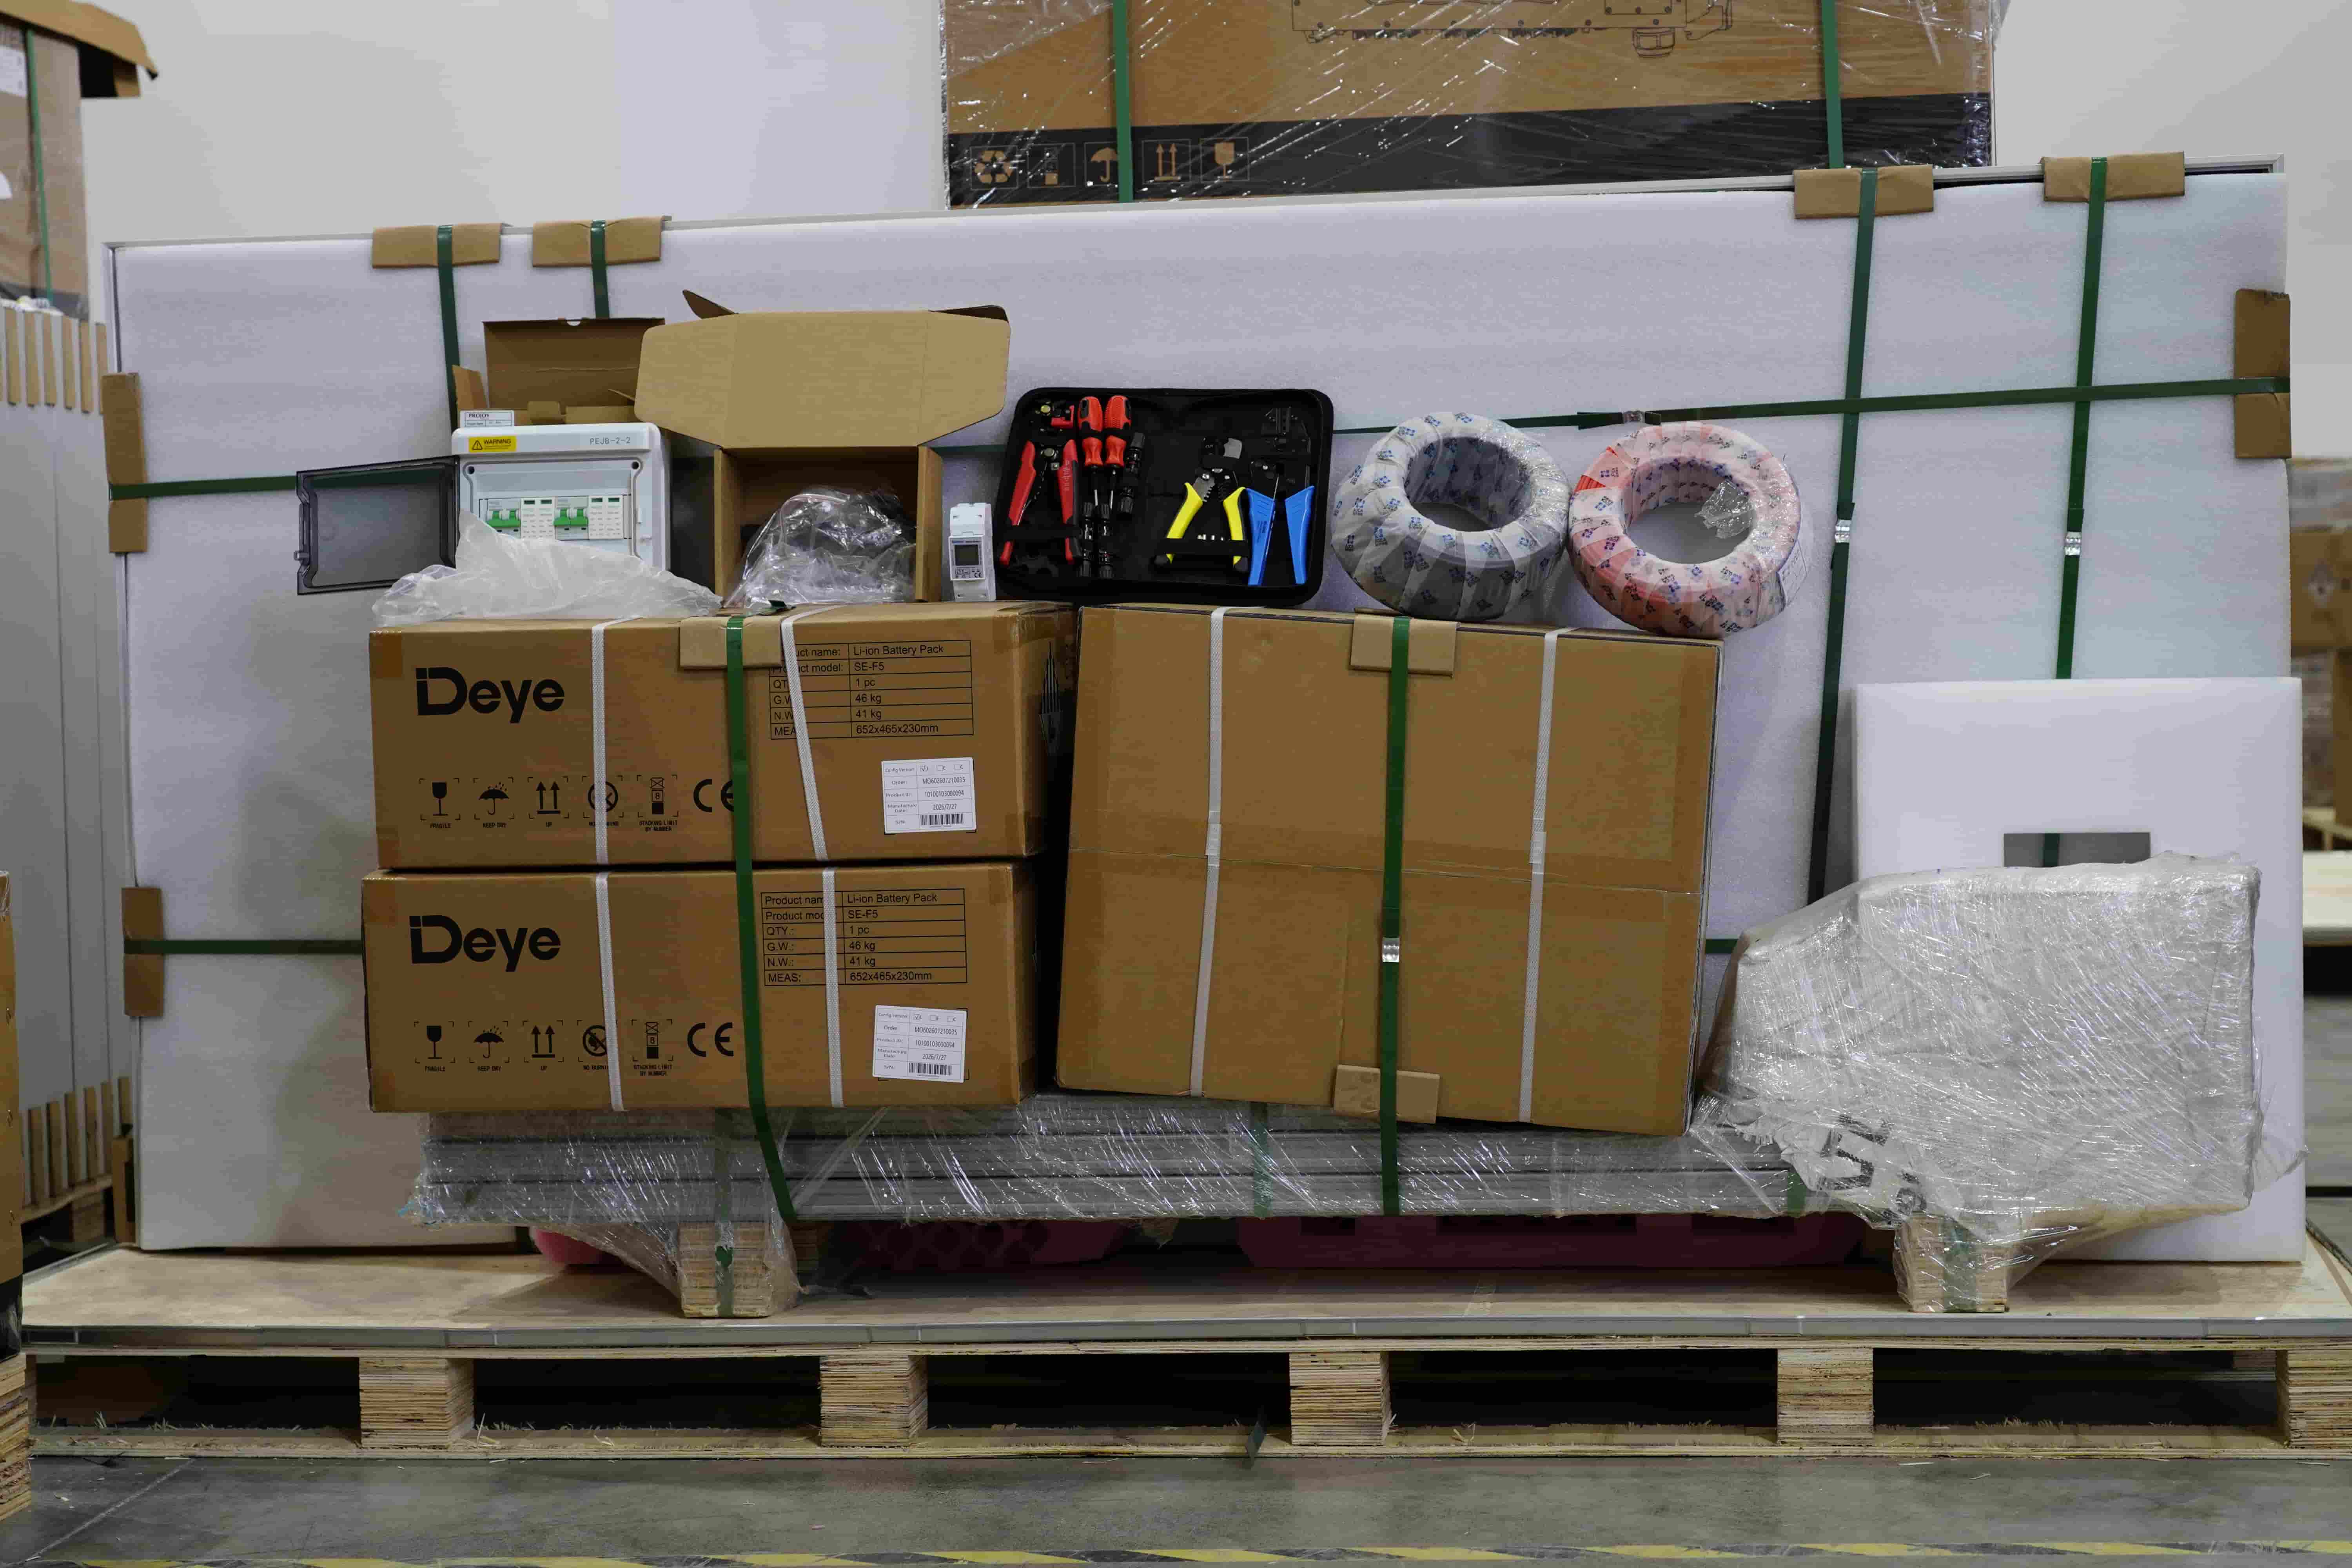
- Cables and connectors: Ensure sufficient cables and connectors are available for connecting the inverter to solar panels, battery storage systems, and the power grid.
- Insulation gloves and safety glasses: Provide necessary protection during the installation process.
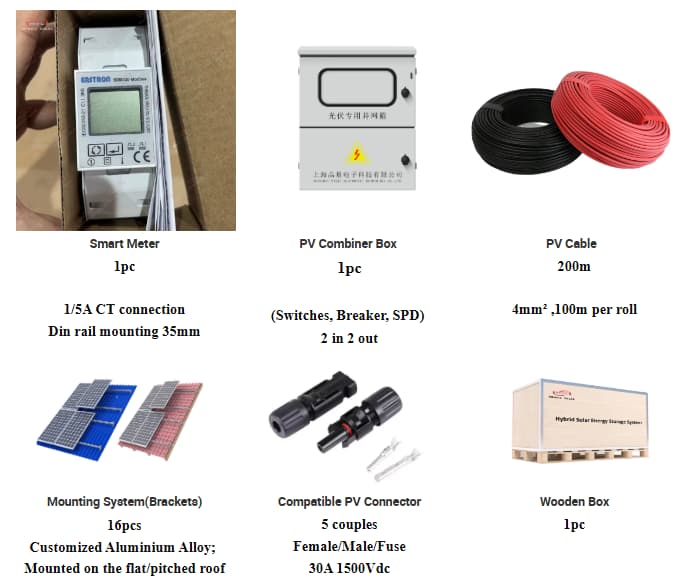
If you are interested in purchasing a kits solar home power generation system, we will provide some accessories free of charge.
4.Understanding Electrical Wiring Basics
Familiarize yourself with the types of wiring commonly used in home solar installations::
- MC4 connectors: Waterproof and dustproof, used for connecting solar panels to inverters.
- PV cables: Special cables for solar photovoltaic systems, resistant to UV, high and low temperatures.
- DC and AC cables: Used for connecting the solar panel to the inverter and the inverter to the home grid, respectively.
- Copper nose and crimper: Ensure strong and secure connections for high-current cables.
Adhering to local electrical codes and regulations is crucial for safety and compliance.
Installation Process
1. Installing the Inverter
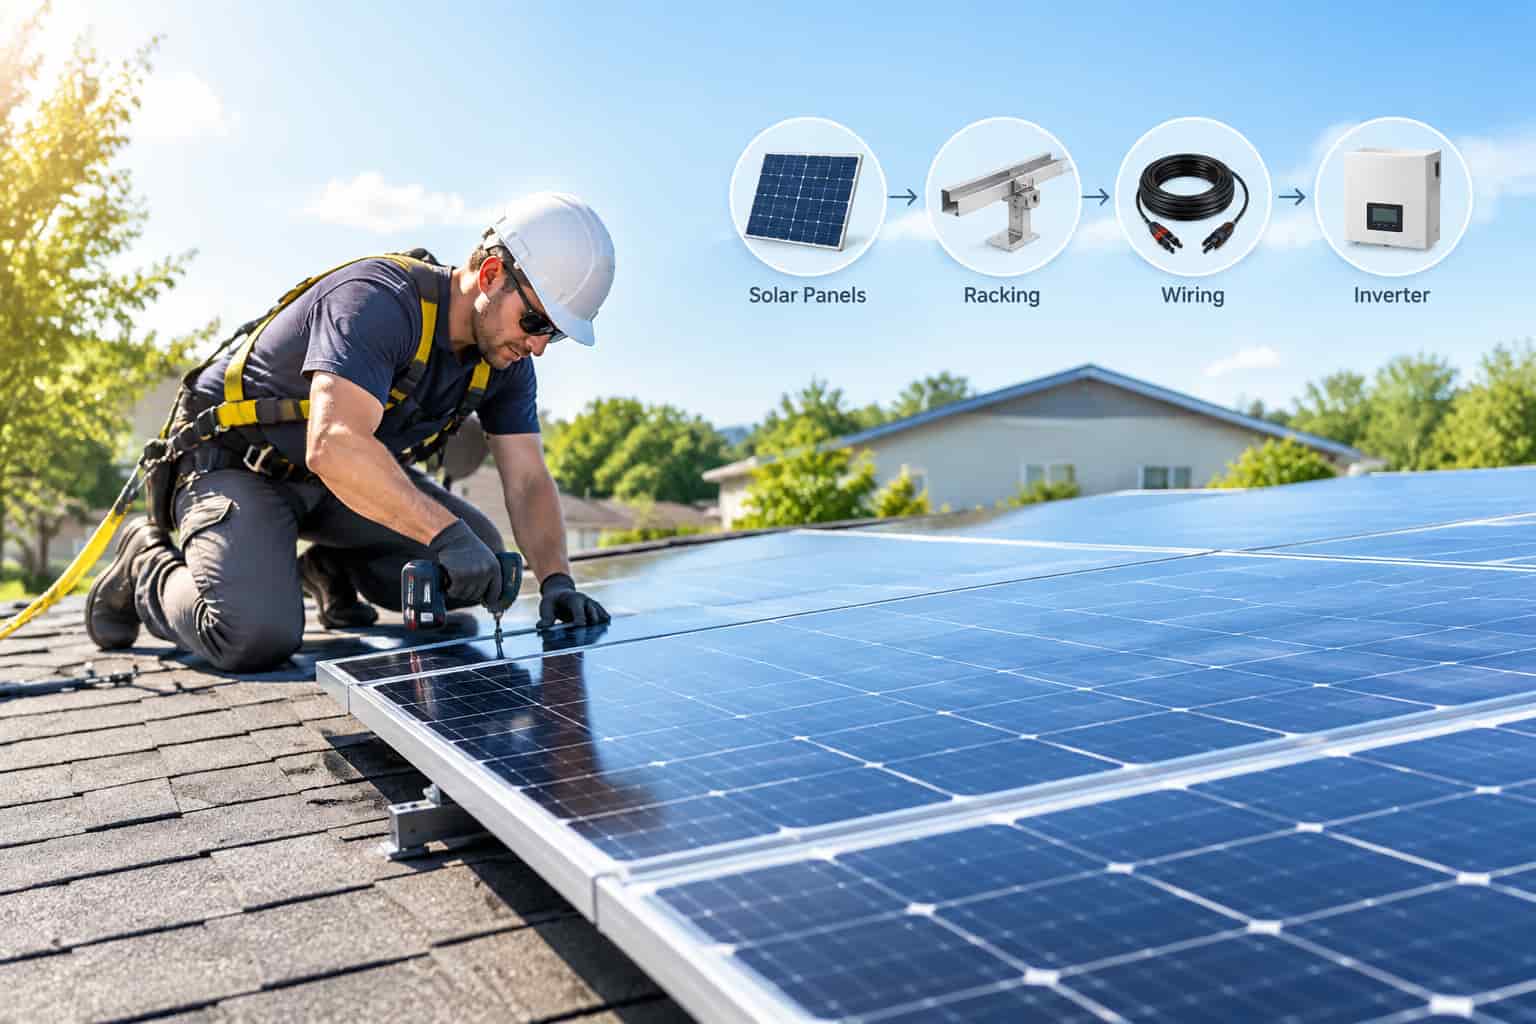
Proper inverter installation is essential to ensure system stability and reliable performance. Follow these steps to complete the installation:
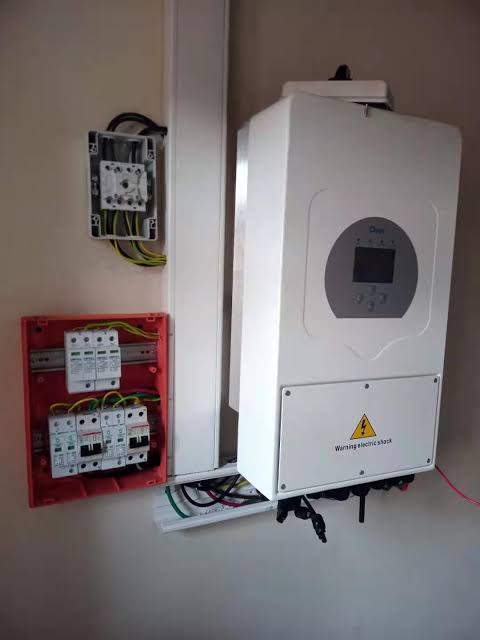
Choose the Installation Location: Select a suitable installation area according to the inverter’s size and weight. The location should be dry, well-ventilated, and convenient for access and maintenance.
Install the Mounting Rack: Use an electric drill and hammer to create mounting holes at the selected location. Fix the mounting rack firmly with screws and ensure it is properly aligned and level.
Secure the Inverter: Place the inverter onto the mounting rack and tighten it securely with the appropriate tools.
2. Connecting the Inverter to the Solar PV System
After the inverter is securely installed, connect it to the solar photovoltaic system:
Connect the DC Terminals: Use PV cables to connect the solar panels to the inverter’s DC terminals. Check the polarity carefully and ensure all connections are properly secured with MC4 connectors.
Connect the AC Terminals: Use AC cables to connect the inverter output to the home electrical grid. Follow the inverter’s wiring instructions to ensure accurate and safe connections.
Secure All Cables: Organize and secure all cables using cable ties and insulation tape to prevent loose connections and maintain a neat wiring layout.
Connecting the Inverter to the Home Electrical System
To connect the inverter with your home electrical system, follow these steps:
Disconnect the Main Power Supply: Turn off the main power supply before starting any wiring work to ensure installation safety.
Connect to the AC Distribution Box: Use suitable cables to connect the inverter to the home AC distribution box according to the provided wiring diagram.
Inspect All Connections: Carefully check all wiring connections to confirm they are correct, secure, and free from loose wires or potential issues.
Post-Installation Precautions
1. General Safety Guidelines
Safety is a top priority when installing a home power inverter. Follow these essential safety guidelines throughout the installation process:
Disconnect the Power Supply: Before carrying out any electrical work, make sure the power supply is completely switched off. Use a multimeter to verify that no voltage is present.
Wear Personal Protective Equipment: Always wear insulated gloves, safety glasses, a safety helmet, and protective clothing to reduce the risk of accidents.
Follow Operating Instructions: Strictly follow the inverter manufacturer's operating manual and the applicable electrical safety standards for the inverter and related equipment.
Use Professional Tools: Ensure all tools comply with relevant safety standards and are in good working condition.
Conduct Regular Inspections: Routinely inspect electrical equipment and wiring for potential safety hazards, and address any issues promptly.
2.Precautions for Handling Electrical Components
When working with electrical components, follow these safety precautions:
Handle Components Carefully: Always handle electrical parts with care, especially when working with live wires.
Use Insulated Tools: Use properly insulated tools to reduce the risk of electric shock.
Keep Components Dry: Prevent electrical components and tools from coming into contact with water to avoid short circuits.
Follow Correct Procedures: Follow proper installation and connection procedures when connecting or disconnecting electrical components to prevent accidents.
3.Testing and Troubleshooting
Initial Startup and Setup
After the installation is complete, perform the following steps for the initial startup and configuration:
Power On the Inverter: After confirming that all connections are properly secured, switch on the inverter and check the display for any error messages or fault codes.
Adjust the Settings: Configure the inverter parameters through the control panel, including settings such as input and output voltage, to ensure optimal operation.
Check System Performance: Monitor the inverter for several minutes to confirm that it is functioning properly and running efficiently.
Common Problems and Solutions
During the installation and initial operation of a home power inverter, some common issues may occur. The following solutions can help resolve these problems:
- Wiring Problems: Check all wiring connections based on the inverter’s wiring diagram. Make sure each cable is properly connected to the correct terminal.
- Inverter Fails to Start: Check whether the power supply is working properly and confirm that the inverter is set to the correct operating mode. Review any displayed fault codes according to the user manual.
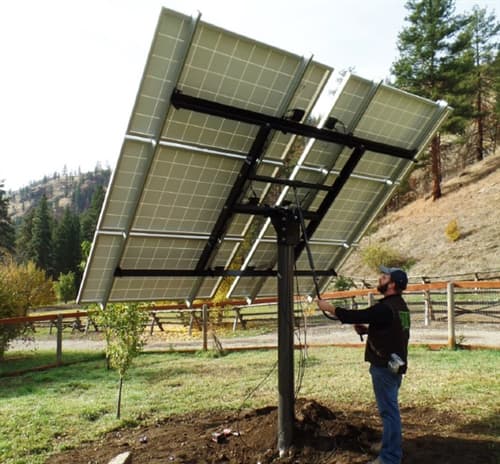
- Low Output Power: Verify that the solar panels are installed in the correct direction and are free from shading or obstructions. Check that cables are not excessively long or damaged, as these factors may lead to power loss.
- Leakage or Short Circuits: Use a multimeter to measure voltage and current, identify any leakage or short circuit issues, and repair the affected areas accordingly.
Conclusion
Installing a home power inverter requires thorough planning, the right tools, and strict compliance with safety requirements. By following this guide, you can complete the installation process effectively and ensure that your solar power system meets your household energy needs. Explore MVC’s range of home inverters to find the ideal solution for your residential solar energy system.

