


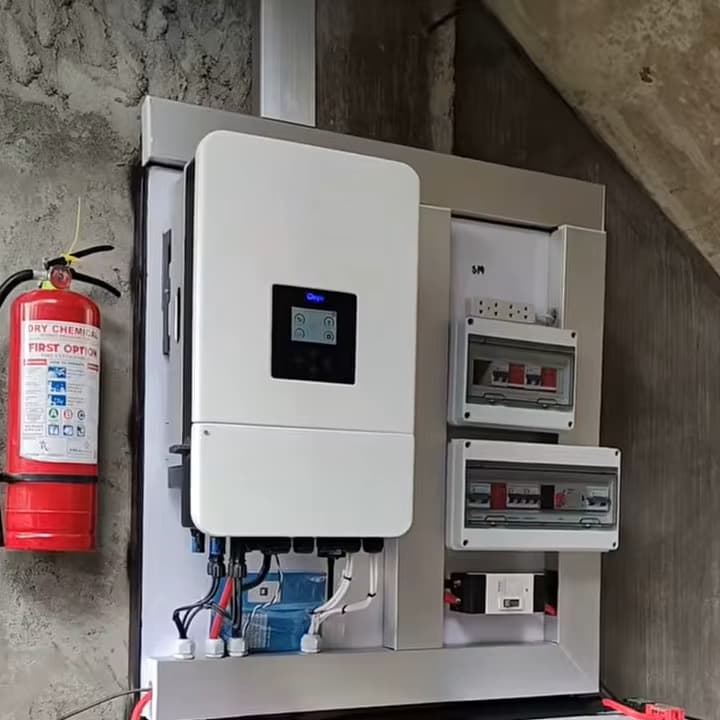
Solar Inverter Installation: A Step-by-Step Guide
A solar inverter is the core component of any photovoltaic system, converting the direct current (DC) produced by solar panels into alternating current (AC) that powers household appliances. Correct installation directly impacts both system efficiency and electrical safety, making proper preparation and critical procedure.
This guide covers everything you need to know before starting: the function of the inverter, how to select the right type and capacity, required tools, and safety equipment. We then walk through the complete installation process step by step — including DC-side wiring, AC-side connection, grounding, communication cables, and monitoring system integration. Finally, we address common wiring mistakes, commissioning tests, routine maintenance, and when to call a licensed electrician for safe and reliable setup.
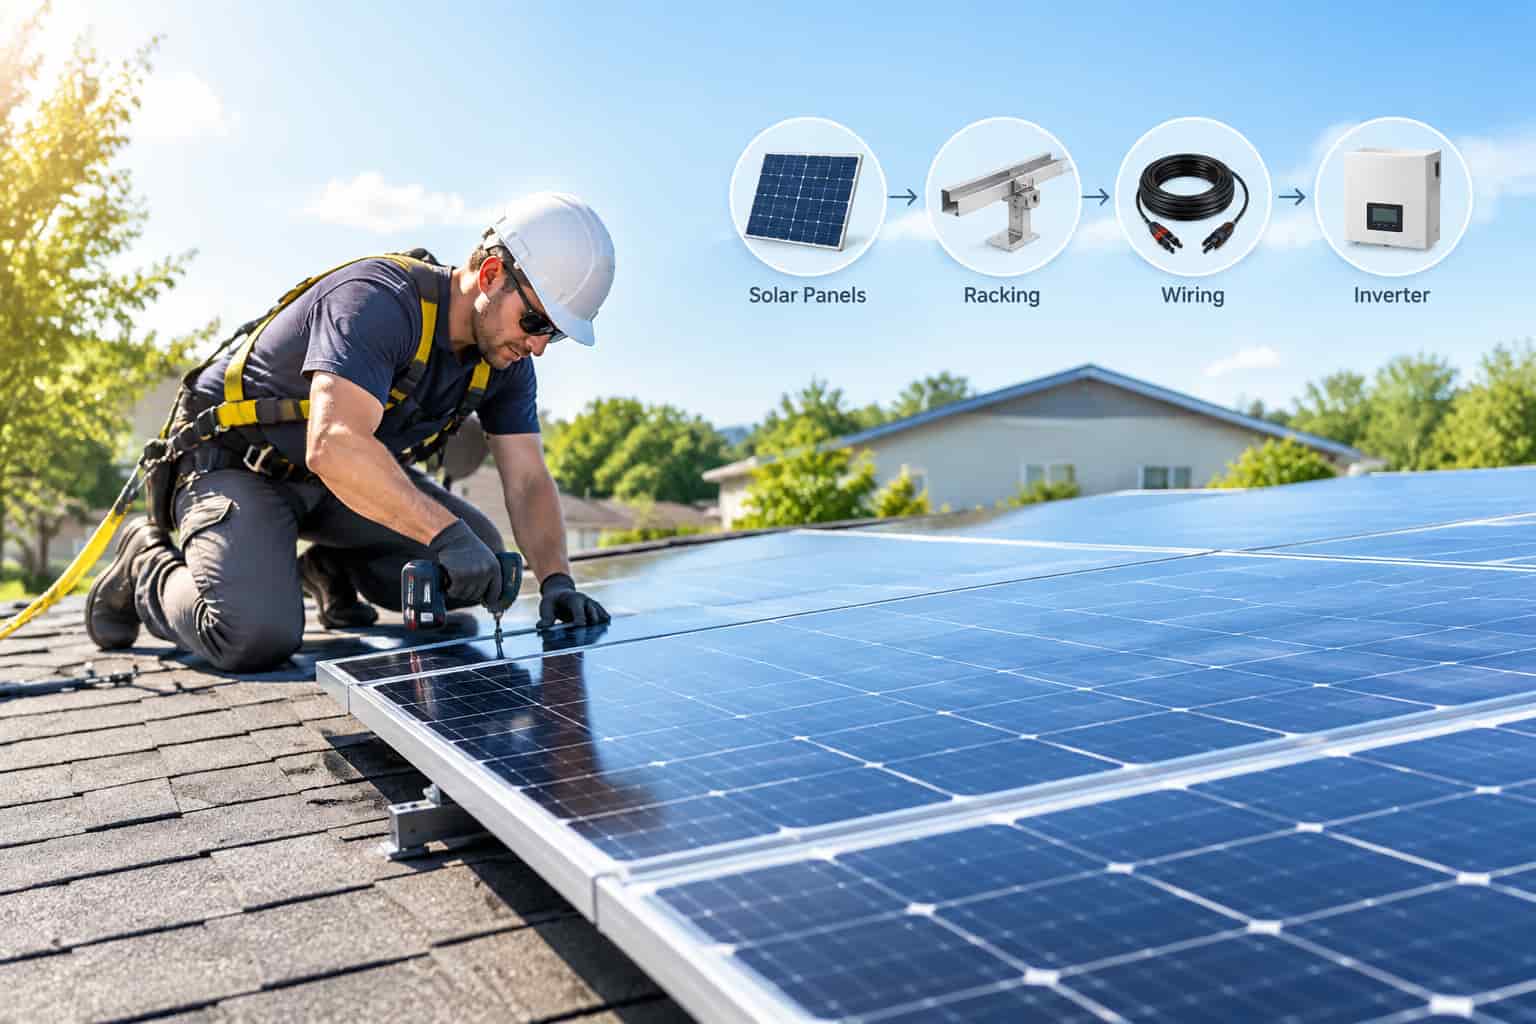
Tools and Preparations for Solar Inverter Installation
Safety Standards and Installation Best Practices
Compliance with electrical safety standards is non-negotiable when connecting an inverter to a solar system — it is the foundation of safe, long-term operation. System design begins with selecting the right protective devices: surge protectors, fuses, grounding equipment, and touch-safe enclosures.
Installation location matters significantly. The inverter must be placed in a dry, well-ventilated area shielded from direct weather exposure. Most inverters are temperature-sensitive; an overheated attic, for example, can degrade both efficiency and service life.
For grid-tied systems, the inverter must support grid phase synchronization and include automatic anti-islanding shutdown to disconnect during a power outage.
How to Choose the Right Solar Inverter Type and Size
Inverter selection starts with system architecture — on-grid, off-grid, or hybrid — as each requires a different configuration.
Key electrical parameters must align with the solar array: panel string power, total DC voltage, and module current must fall within the inverter's maximum DC voltage limit, MPPT operating range, and rated AC output capacity.
Common inverter types include string inverters and hybrid inverters, each offering distinct advantages and trade-offs.
Beyond power and voltage matching, evaluate efficiency (modern models reach up to ~98%), built-in MPPT (Maximum Power Point Tracking), monitoring capabilities, overvoltage and overload protection, and phase balance performance.
Which Is the Best Solar Inverter?
There is no single "best" solar inverter — the optimal choice depends on your system type, panel count, grid-feed requirements, battery storage setup, power demands, and operating conditions. The golden rule is simple: the inverter's technical specifications and features must precisely match your solar system's characteristics.
Grid-Tied Systems
If your goal is to export excess power to the utility grid, an on-grid inverter is the right choice. It ensures accurate phase and frequency matching, automatic anti-islanding shutdown during outages, and full compatibility with grid standards.
Off-Grid and Hybrid Systems
For off-grid operation — or systems combining solar panels with battery storage — you need an inverter that supports battery charging and standalone power supply. Hybrid inverters and dedicated off-grid inverters are designed for this purpose.
Beyond System Type: Reliability and Features
Efficiency, reliability, and built-in features also matter. Look for MPPT tracking, real-time monitoring, comprehensive protection (overvoltage, overload), and communication capabilities. Choosing an established manufacturer with a solid warranty and fully documented specifications is always a sound investment.
Step-by-Step Solar Inverter Installation Guide
1. Wiring Solar Modules and Verifying Polarity
Start by connecting solar panels into strings using the pre-installed MC4 connectors on the panel backs. Always double-check polarity — reversed polarity can cause inverter malfunction.
After assembly, re-measure each string's voltage and current to confirm they fall within the inverter's input range. Exceeding the manufacturer's maximum DC voltage can damage the inverter or prevent startup.
2. Why Use an Inverter Wiring Diagram?
A detailed wiring diagram clarifies DC and AC connections, fuse placement, surge protection, and communication lines. Manufacturers like SMA and Huawei strongly recommend using one — faulty wiring is among the most common PV system failures.
A diagram also lets you pre-plan cable routes, protective device positions, grounding points, and AC distribution board connections, reducing installation time and rework.
3. Connecting DC Cables to the Inverter
With string voltage and polarity verified, connect the DC side. Modern inverters feature surge-protected DC inputs and often multiple MPPT trackers, enabling panels with different orientations or wattages to operate independently. Per SolarEdge guidelines, always inspect and test the DC disconnect switch before energizing.
After connection, perform a final polarity check at the inverter input to rule out swapped wires or short circuits.
4. AC Side Connection to the Grid
The AC side feeds alternating current to the home distribution board and then to the grid. Per EN 50549-1, grid-tied inverters must include anti-islanding protection, automatically disconnecting during a utility outage.
Ensure AC cable cross-section matches the inverter's power rating — undersized cables cause overheating, voltage drops, efficiency loss, and even fire risk.
5. Grounding, Touch Protection, and Surge Protection
Proper grounding is essential for safe operation. IEC 60364-7-712 requires all inverters and DC-side protective devices to connect to a common grounding point, with AC/DC surge arresters mandatory.
Surge protection is critical — lightning-induced high voltages on the DC side can instantly destroy an inverter. Modern PV systems should use high-quality Type 1 and Type 2 SPDs.
6. Communication Cables and Monitoring System
A monitoring system enables real-time tracking of PV performance. Most modern inverters connect via Ethernet or Wi-Fi. Manufacturer manuals emphasize routing communication cables separately from high-voltage lines to prevent electromagnetic interference and data loss.
Reliable monitoring detects faults, declining output, and cable issues early, boosting long-term system uptime.
Common Solar Inverter Wiring Errors and How to Avoid Them
Several installation errors can reduce efficiency or reliability — many mirror mistakes made during solar panel setup. The most frequent issue is string voltage falling outside the inverter's acceptable range: too high causes overload or shutdown, while too low prevents the inverter from starting entirely. Always verify voltage against the manufacturer's MPPT range before connecting.
Testing and Commissioning: What to Check
The final installation phase is commissioning — verifying every component operates safely and complies with regulations. Standard PV commissioning protocols require measuring DC-side polarity, voltage, and current, plus confirming all protective devices function correctly.
Next, test the AC side: verify inverter phase synchronization and anti-islanding automatic shutdown. For grid-tied inverters, EN 50549-1 mandates specific commissioning tests, including frequency and voltage range validation.
Finally, activate the monitoring system per the manufacturer's instructions to track production data and faults. Huawei inverters additionally require online registration and a firmware version check during setup.
Maintenance Tips for Long-Term Reliability
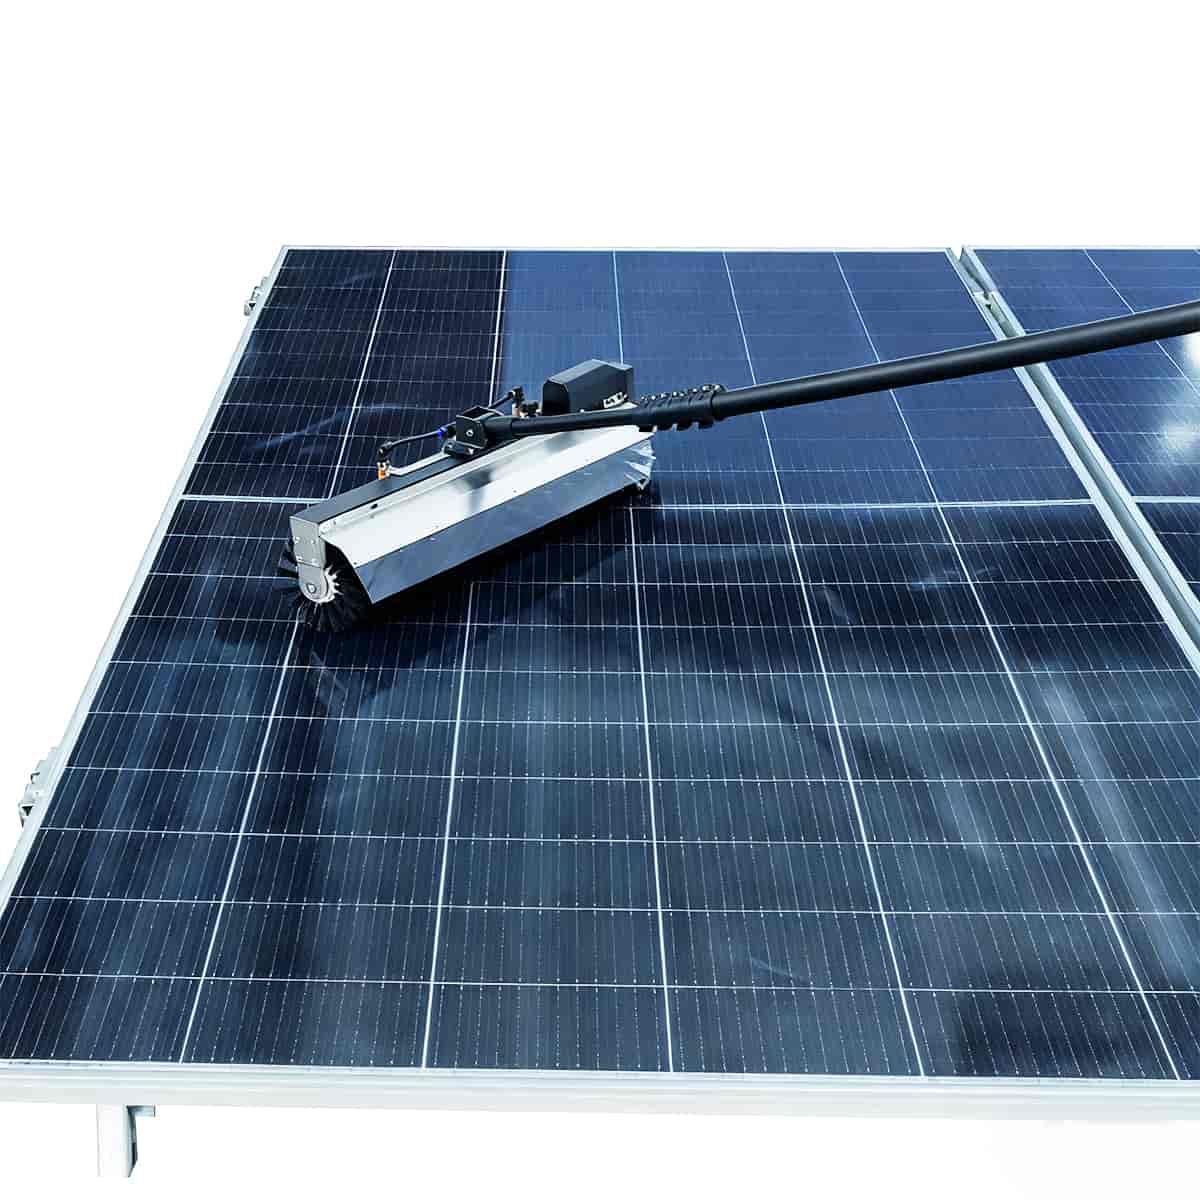
Solar system maintenance is generally straightforward, but regular checks keep the inverter and entire system running reliably. Manufacturers recommend at least one annual visual inspection: examine cable condition, connection tightness, grounding integrity, and surge arrester status.
The monitoring system is your early-warning tool — production drops or fluctuations in inverter log files can signal dust buildup, aging connectors, or shielding faults before they become critical.
For hybrid inverter systems, also monitor battery health and charge cycle counts, easily accessible through the manufacturer's software platform.

